Front-end Integration
This section will show how to integrate your smart contract to a front-end, so users can interact with it. We assume that you already have the basic knowledge of front-end development, so we will not spend much time introducing this part of the code, but mostly be focusing on how to interact with the smart contract in the front-end project.
Create a project
First, create the root directory of the project.
mkdir lambit-web-example
cd lambit-web-example
Create a contract project
Create a Helloworld project and build it:
npx @opcat-labs/cli-opcat project helloworld
cd helloworld
npm run build
See the helloworld tutorial
Create a frontend project
Create your front-end project using React, Next, Vue, Angular, or Svelte.
React
Run the following command to create a React project named helloworld.
cd ..
npx create-react-app frontend --template typescript
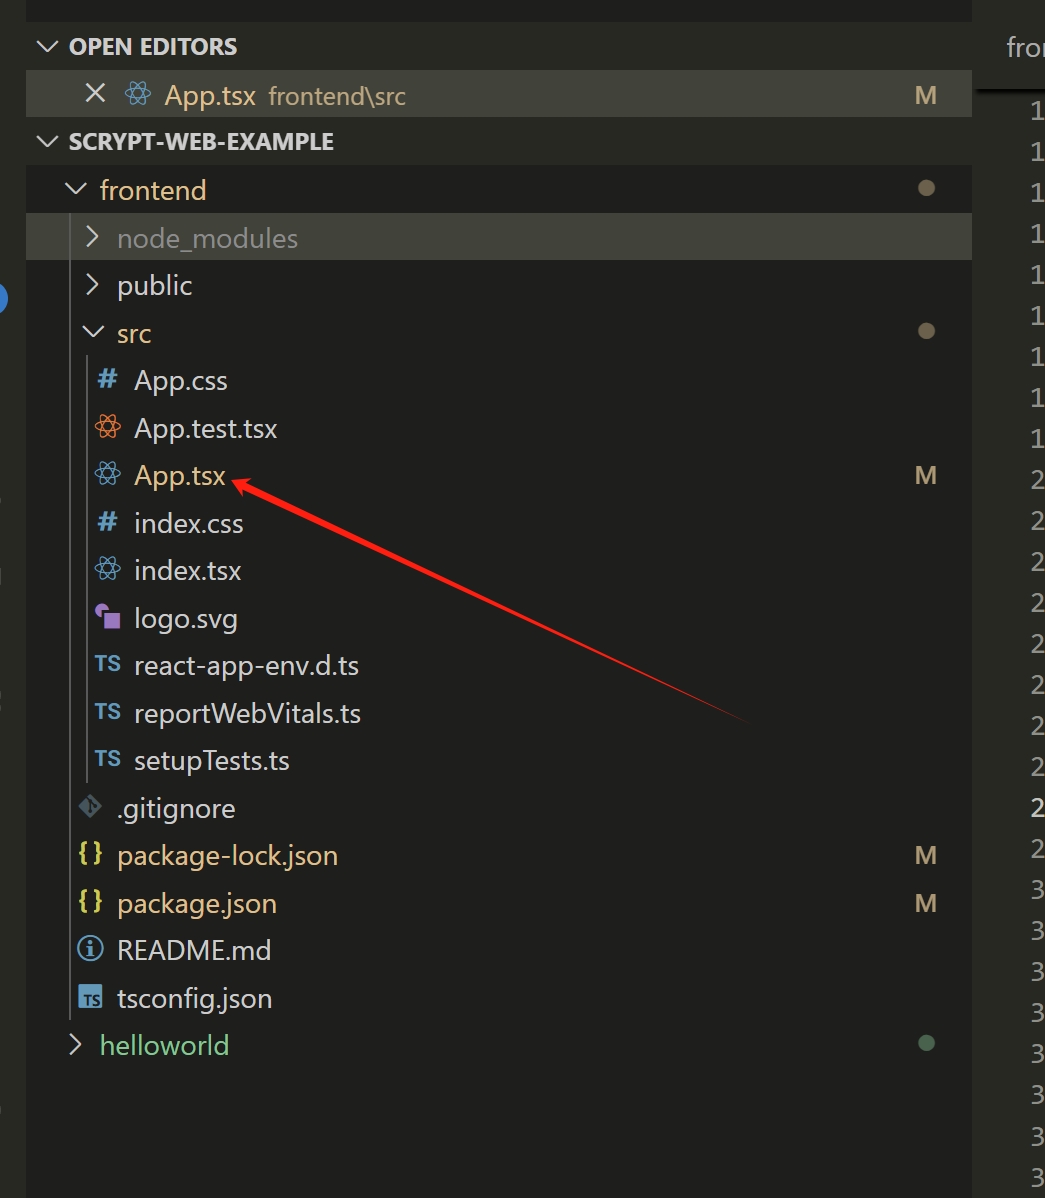
We will do most work under the src directory.
Next.js
Run the following command to create a Next.js project.
npx create-next-app frontend --typescript --use-npm
Vue.js
Vite
Run the following command to create a Vue 3.x project bundled with Vite.
npm create vue@3
If you'd like to use Vue 2.x, run the following command to initialize the project scaffold.
npm create vue@2
Webpack
Run the following command to create a Vue project bundled with Webpack.
npx @vue/cli create frontend
Vue 3.x and 2.x bundled with Webpack are both supported.
When setting up the project, select Manually select features and enable TypeScript.
Angular
Run the following command to create an Angular project.
npx @angular/cli new frontend
Svelte
Run the following command to create a Svelte project.
npm create svelte@latest frontend
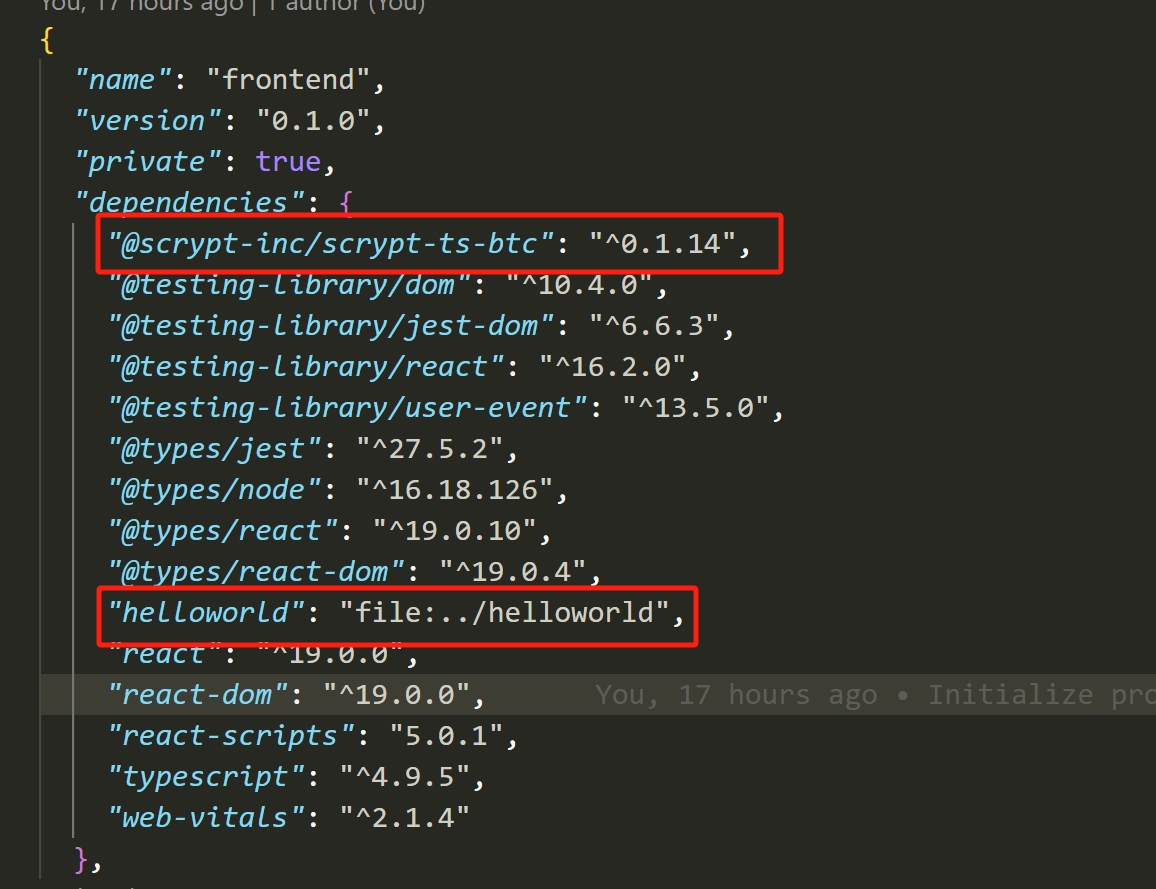
Install the contract dependency
cd frontend
npm install @opcat-labs/scrypt-ts-opcat
npm install ../helloworld
This command installs the dependencies and configures the contract development environment. After this, we are ready to go!